

Building a little studio
I’ve started a modeling career
However, as I don’t have a body of a model (except from in the basement), it’s the other kind of modeling and I’m learning Blender. Here’s my screen for the last 17 hours of CPU time, trying to simplify half of the mesh:
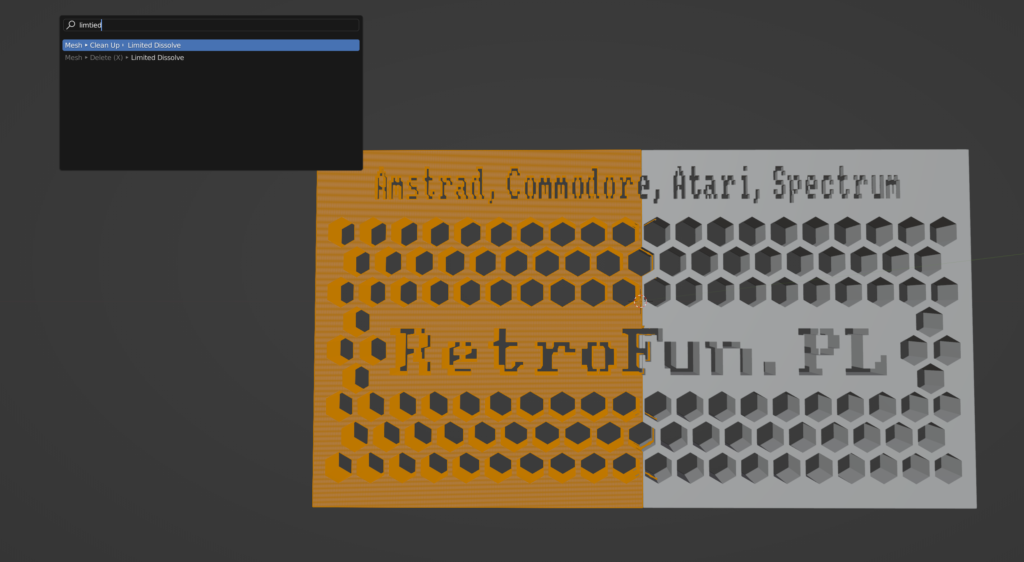
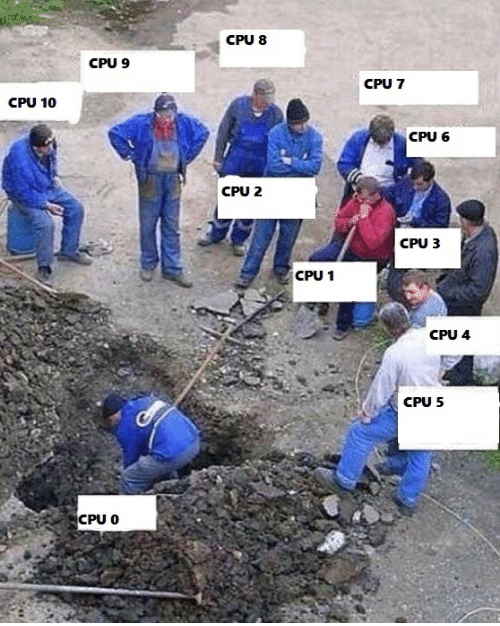
As it turns out, the “Limited dissolve” in Blender is only using one CPU, so in my 16-physical-core system (32 virtual cores), most of them are just doing nothing and waiting for the first one to finish.
But, as you can see, I have successfully modeled something that was supposed to be a simple 3d-printed side wall of a raised monitor shelf for the CRTs. What CRTs, you may ask? Well, plenty!
This display shelf is intended to hold a few examples of various families of retro computers – in this example we have a C128, A600, CPC664 and a PCW8152 on the display (and last, but not least, a Flatron connected to a Mega PC). Above it I’m considering a few (or more) shelves with vertically displayed computers grouped by their families (Commodores with the Commodores, Amstrads with the Amstrads and… Ataris and Spectrums as “everything else” maybe?)
Good idea? Bad idea? Tell me before I find out myself. 😀
Modeling for printing: lessons learned
If you wanna start creating your own models for 3D printing, turns out Blender actually is a very decent tool to do so. It’s free, has plenty of ways to build and shape your creation to your desires, and can export to STL.
Funnily enough, when exporting, something weird happens to unit sometimes. In the end, to make 1cm actually be 1cm, I have to export with a scale: 1000. Well.
WYSIWYG? Forget it. See this failed print:
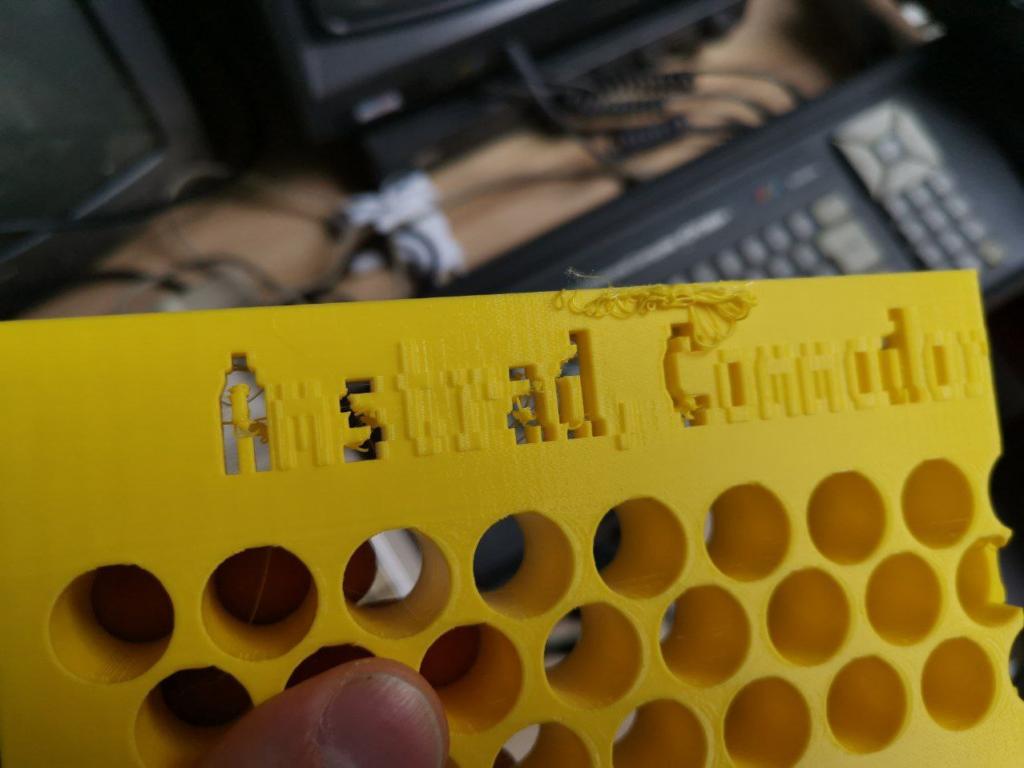
Sometimes, even if Blender renders everything correctly (which is not easy to begin with), you still get a very different result in the print. Letters that used to be holes can, for example, turn into raised ones.
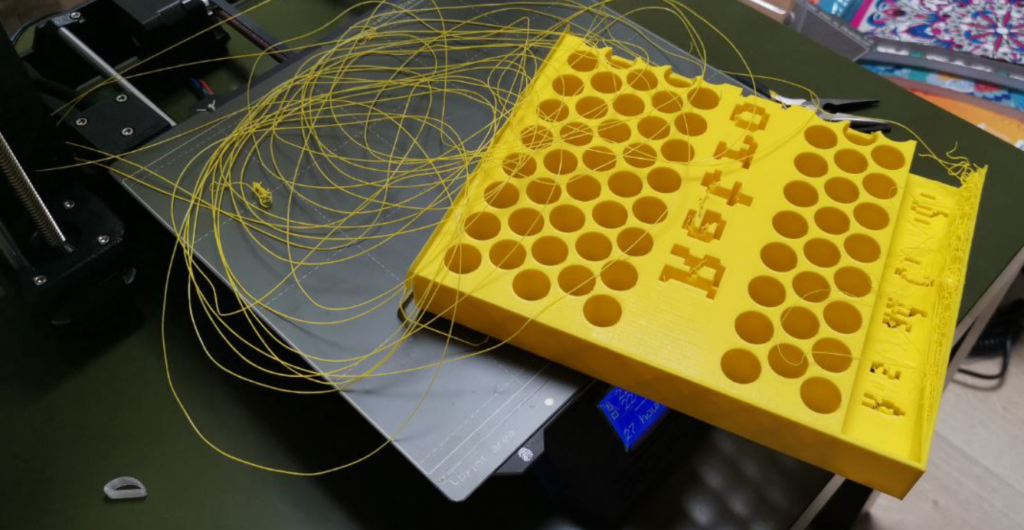
There were more things that went wrong here. I forgot to make the print lay on its face so it printed vertically. This causes the top ledge to hang in the air and collapse, which in turn causes flying plastic spaghetti, which in turn collides with the printer head and the entire model falls and breaks. When I entered the room after 26 hours of printing, this is what I saw:
Luckily, you can see many of the issues in the middle part of the process – before your STL turns into gcode, the commands that are actually executed by the printer (think about it as like if you’re compiling code – your higher level model becomes low-level assembly gcode). For example, once again, holes turn into objects, and vice versa (WTF?):

My dear friend since high school that has much more experience with modeling (probably of all kinds, though), agreed with me that round geometry, like the cylindric cutouts here, is always a problem for the tools as it makes everything very CPU-intensive.
That’s why in the top picture you see I let go after a few days of trying and went into something much closer to a honeycomb structure. Which also reminds me I was supposed to kill a wasp building a nest at my home entrance…
That doesn’t make everything much easier for blender yet. It still has issues when trying to subtract shapes with smaller detail from shapes with much larger faces. In order for that to work well you can try incresing the larger part’s geometry, for example with a magical but dangerous “Remesh” tool… But then you end up with the operation either taking 20 hours, or failing with out of memory errors on a 32-gig machine. Sheesh.